Basic Navigation Tips for Hikers
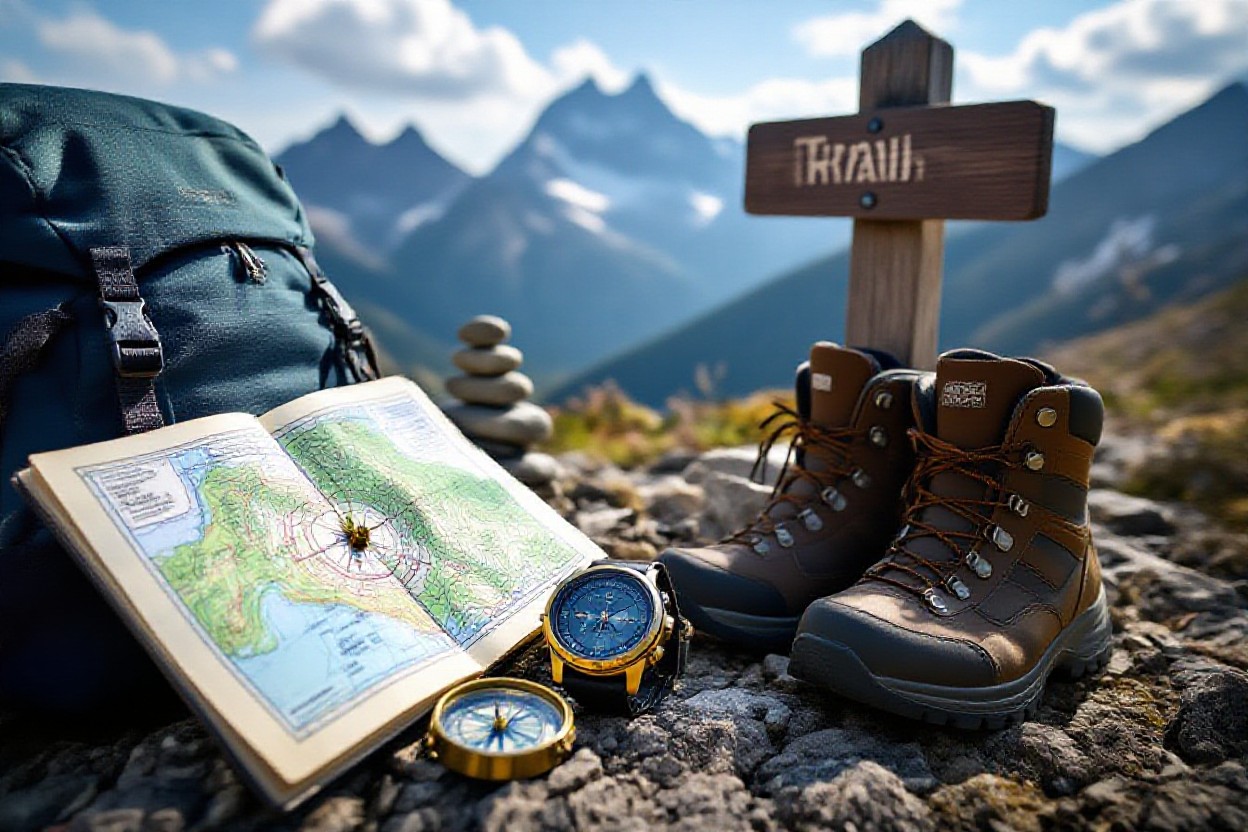
Tips for reliable navigation begin with mastering map and compass skills so you can orient yourself without electronics, planning your route and bailout options, checking terrain and weather, and using natural features and pace counting to verify position; practice route-finding before you head out and always carry backups so you can confidently keep yourself and your group on track.
Understanding Navigation Tools
A firm grasp of navigation tools helps you plan routes, gauge position, and adjust when conditions change; by combining compass, map, and GPS skills you can navigate confidently in varied terrain and low-visibility situations.
Compasses
Across ridgelines and dense forest, your compass gives a steady bearing when landmarks disappear; learn to orient the map to the needle, take and follow bearings, and account for magnetic declination so your courses remain accurate.
Maps
One detailed topographic map shows contour, water, and trails that you use to interpret terrain; study scale, contour intervals, and symbols before heading out so you can judge slope, distance, and route complexity.
For instance, when you identify a ridge or valley on the map, correlate contour shapes and spacing to predict steepness, use natural features like streams as handrails to stay on course, and mark checkpoints so you can verify your position as you travel.
Essential Navigation Techniques
The core navigation techniques-compass use, map reading, and route planning-equip you to find your position, set bearings, and adjust when conditions change so you can make safer decisions, estimate travel time, and avoid common route-finding errors across varied terrain.
Orienting Your Map
The fastest way to orient your map is to align its north with magnetic north using your compass, then match visible features-peaks, rivers, trails-to map symbols so you can accurately relate map distances and bearings to the landscape around you.
Using Landmarks
Below, select prominent, permanent features-ridgelines, distinctive peaks, bridges-as visual anchors, note their bearing and estimated distance, and use them as checkpoints to verify your position and keep your route straightforward when trails are indistinct.
This advanced landmark approach has you pick at least two distant features at differing bearings to triangulate your position, use closer objects as short-leg targets, avoid transient markers like hikers or seasonal floods, and routinely cross-check with contours so you can recover quickly if you stray.
Route Planning
Clearly you should tailor your route to your fitness, daylight and weather by studying maps, elevation profiles and trail reports; identify water sources, permit requirements and bailout points, estimate pace and turnaround time, prepare navigation tools and emergency gear, and share your plan with someone who can raise the alarm if you don’t return.
Assessing Trail Conditions
Beside maps you must consult recent trip reports, park notices and local advisories to assess surface conditions, stream crossings, snow or ice, and seasonal hazards; adjust timing, footwear and gear accordingly, and select alternative lines if key sections are reported impassable.
Setting Waypoints
Before you create waypoints, pick identifiable landmarks and safe stopping points, record precise coordinates and elevations, assign clear names, and load them into your GPS while noting them on a paper map as a backup; verify device accuracy before departing.
This additional detail strengthens your navigation: categorize waypoints (junctions, water, campsites, hazards), note distances and expected times between them, set bearing and arrival actions, and ensure you have spare batteries and a physical map so your plan endures device failure.
Reading Environmental Cues
Keep checking features like sun angle, stream courses, and plant growth to gauge direction and habitability; by interpreting shadows, animal paths, and human markings you sharpen your route decisions and avoid disorienting terrain.
Natural Indicators
Reading moss patterns on logs, growth on tree trunks, and the orientation of lichen helps you infer moisture and sun exposure; combine these clues with wildlife trails and soil color to pinpoint reliable routes and likely water sources.
Weather Considerations
With shifting weather you monitor cloud development, wind shifts, and temperature drops to decide whether to press on or seek shelter; you adjust pace, route, and gear for reduced visibility and slick surfaces.
Another useful practice is tracking barometric changes, listening for distant thunder, and noting rising humidity and insect activity; these subtle signals let you anticipate storms so you secure gear, choose shelter, and reroute to safer terrain.
Safety and Emergency Navigation

For safe travel you should plan your route, check weather, and carry a map, compass, GPS, and an emergency kit; tell someone your itinerary and expected return. If you become disoriented or injured, stop and assess, use visible signals like a whistle or mirror, and conserve energy and warmth while waiting for help. Prioritize staying visible and reachable to rescuers unless you must move to avoid immediate danger.
What to Do When Lost
Along the trail, if you realize you are lost, stop moving, stay calm, and try to orient using your map, compass, sun, or GPS; backtrack to a known point only if it’s safe. Make yourself visible with bright clothing and repeated whistle blasts (three short blasts is the universal distress signal), conserve water and battery power, and prepare a shelter if night or severe weather approaches.
Communicating Your Location
At the first opportunity, provide rescuers clear details: grid or GPS coordinates, the nearest landmark or trail junction, your bearing and estimated distance from that point, your party size, condition, and any injuries, and the last known route you took. Use cell, satellite messenger, or radio when available and keep transmissions concise and repeated at intervals.
For instance, give a concise report like: “GPS 10T 045678, at river crossing near Pine Junction, bearing NE 1.2 km from trailhead, party of three, one with sprained ankle, last on route X heading south, low on water,” so rescuers can prioritize search area and resources effectively.
Technology in Navigation
Unlike relying solely on intuition, technology in navigation should augment your map and compass skills; you must treat devices as tools, not replacements. Monitor battery life, understand signal limitations in canyons or dense canopy, and practice fallback techniques so you can navigate confidently when electronics fail.
GPS Devices
After you choose a GPS device, learn its menus, waypoint functions, and track recording; set units and datum to match your maps, carry spare batteries or a power bank, test reception under canopy, and always cross-check GPS readings against terrain and your map.
Navigation Apps
By using navigation apps you gain access to detailed topographic maps, route planning, and emergency features; download offline tiles before you go, keep apps updated, and verify map sources and waypoints to avoid following outdated or inaccurate data.
But you must manage app limitations: limit background GPS to save battery, disable unnecessary syncing, check permissions for privacy, and practice with the app in easy terrain so you can quickly load offline maps, toggle layers, and export routes when signal is poor.
Conclusion
Now you can navigate trails confidently by mastering map-and-compass basics, checking landmarks and bearings, tracking time and distance, and using GPS as a backup; continually refine your skills, plan routes before you go, set checkpoints, and adjust for weather to keep you safe and on course.


