How RV Water and Power Systems Work?

Most of your RV’s comfort depends on understanding how water tanks, pumps, plumbing, batteries, converters, inverters, and shore or generator power interact; when you learn how fresh, gray, and black water flows and how 12V and 120V circuits are managed, you can maintain systems, troubleshoot leaks and power issues, and extend component life with simple habits like proper charging, tank care, and fuse inspection.
Understanding RV Water Systems

While RV water systems vary by model, they all rely on a fresh water tank or city hookup, a 12V pump, filters, a water heater, distribution lines and valves; you control flow with selectors and a pressure regulator, and access service points through panels-knowing these components helps you prevent leaks, contamination, and system failures.
Fresh Water Supply
At the core of your supply is a potable tank and pump that pressurizes lines when you’re off-grid, while a city water inlet and pressure regulator let you connect to shore water; you maintain taste and safety with inline filters, regular sanitizing, and by protecting the heater and fittings from freezing.
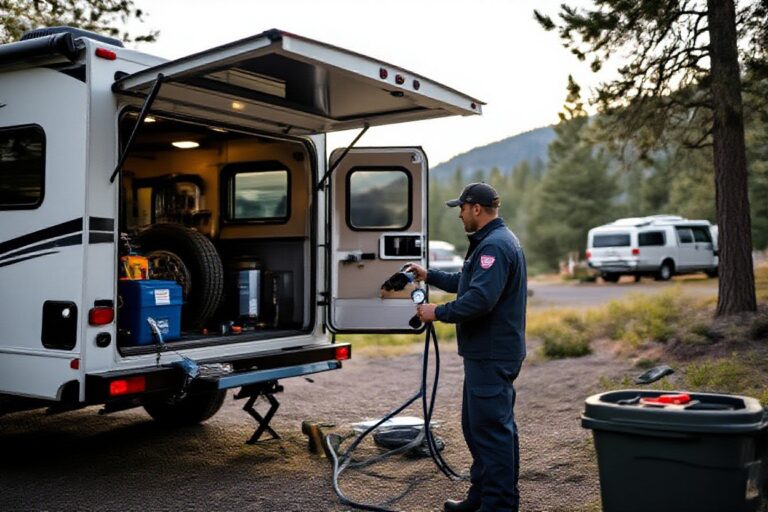
Waste Water Disposal
Understanding waste handling means separating greywater from blackwater: sinks and showers go to the grey tank, toilets to the black tank, with vents and valves managing flow; you use dump valves in sequence, monitor sensors to avoid overfills, and service seals and vents to control odors and leaks.
This system demands routine care: you should flush the black tank after dumping, use enzyme treatments or approved chemicals, inspect seals and valves for wear, carry a quality sewer hose and adapters, and follow campground rules while rinsing connections and stowing equipment to prevent contamination and fines.
RV Power Systems Overview
Now your RV’s power system links shore power, a generator, roof solar, and battery storage with inverters, converters, and distribution panels so you can run both AC appliances and DC devices. Transfer switches and breakers route and protect power, and your choices determine runtime, autonomy, and which loads you can safely operate.
Electric Power Sources
The main electric sources you rely on are shore power for high-demand AC loads, a built-in or portable generator for off-grid AC, batteries that supply 12V DC and feed the inverter, plus solar panels that recharge batteries and reduce generator runtime. You should know how each source charges and backs up the others to size capacity and plan usage.
Power Conversion and Distribution
Around the heart of the system are inverter-chargers that convert DC to AC and converters that produce stable DC for lights and appliances, while a transfer switch selects shore or generator input. Your distribution panels divide AC and DC circuits with breakers and fuses, and proper wiring and grounding protect equipment and people.
Power conversion relies on inverter-chargers switching modes: inverting battery DC to AC for outlets and charging batteries when external AC is present; converters or DC-DC chargers regulate 12V loads and accessory charging. You should monitor battery state-of-charge, configure charge profiles, and size inverters, chargers, and wiring to avoid overloads and extend system life.
Propane Systems in RVs
There’s a propane system in your RV consisting of one or two cylinders, a pressure regulator, supply lines and appliance connections; it powers heaters, stoves and water heaters, offering high-energy output when shore power isn’t available; an auto-changeover or manual valve lets you switch tanks, and gauges/regulators keep flow steady, so you manage fuel level, secure fittings and follow refill/exchange procedures for safe operation.
Heating and Cooking
Above all, your propane supplies the furnace and water heater for warmth and hot water and the stove or oven for cooking; furnaces use thermostats and blowers, water heaters can be gas-only or hybrid, and stoves use pilot or electronic ignition – you should set burners, monitor combustion, and keep vents clear to ensure efficient, reliable performance while boondocking.
Safety and Maintenance
At the center of safety is proactive maintenance: you must check hoses, fittings, regulator and tank seals for leaks using a soap test or approved detector, close the tank valve before travel, store spare cylinders upright and secured, and have the system inspected annually by a qualified technician to prevent dangerous leaks and ensure proper regulator operation.
Another important step is replacing aging parts – hoses and regulators degrade over time – and using only manufacturer-approved components and certified refill stations; install an audible propane detector, ensure proper appliance venting to avoid carbon monoxide buildup, and document maintenance so you can prove inspections and repairs when troubleshooting.
RV Battery Management
For reliable off-grid power, you should manage battery state of charge, limit high-draw devices, use proper charging profiles, and inspect terminals and fluid levels so your batteries deliver consistent 12V power for lighting, pumps, and electronics.
Types of Batteries
On RVs you commonly choose between several chemistries, each with trade-offs:
- Flooded lead‑acid – low cost, requires maintenance
- AGM – sealed, better vibration resistance
- Gel – tolerant of deep discharge but sensitive to charging
- Lithium (LiFePO4) – lightweight, deep cycles, higher cost
The table below summarizes these options.
| Battery Type | Key Traits |
|---|---|
| Flooded Lead‑Acid | Low cost, needs water, heavier |
| AGM | Sealed, maintenance‑free, moderate cost |
| Gel | Good deep discharge, must use correct charger |
| LiFePO4 | High cycle life, light, higher upfront cost |
Charging and Monitoring
Types of charging include shore power converters, inverter‑chargers, alternator charging, and solar controllers; you should match charging profiles to your battery chemistry and use a battery monitor to track voltage, current, and state of charge.
Understanding charging stages (bulk, absorb, float), equalization needs for lead‑acid, and setting proper voltage limits for lithium helps you avoid overcharge or undercharge; you should install a quality battery monitor and smart charger to automate profiles and keep your batteries healthy.
Solar Power Integration
Not all RVs come ready for solar, but you can integrate panels, charge controllers, and batteries into a scalable system that powers lights, pumps, and small appliances; choose MPPT controllers, monitor your energy use, and design capacity around your typical daily load and local weather conditions.
Benefits of Solar Energy
After you install solar, you gain quiet, off-grid power that lowers campground dependency, reduces generator runtime, and extends time between battery recharges; solar also decreases your fuel costs and emissions while giving you greater flexibility to camp in remote locations.
Installation and Usage Tips
Behind a dependable RV solar setup you should focus on correct panel orientation, solid roof racking, properly sized wiring, and a quality charge controller; perform periodic inspections for roof seals and connections. Knowing how to balance panel output, battery capacity, and inverter choice prevents unexpected power shortfalls.
- You should position panels to minimize shade during peak sun.
- You should use proper MC4 connectors and appropriately gauged wiring.
- You should select an MPPT charge controller to maximize harvest.
- You should protect circuits with fuses and correctly sized breakers.
Installation should begin with a load audit to size panels and batteries, then you mount panels where shade is minimal, run marine-grade wiring, fuse each run, and configure charge controller and inverter settings; test the system under varied loads before full use. Knowing basic maintenance routines and safe battery handling preserves system longevity.
- You perform a load audit to size batteries and panels.
- You secure panels with manufacturer-approved mounts and seals.
- You route and protect wiring using marine-grade cable and conduit.
- You test the system under realistic loads before extended boondocking.
Troubleshooting Common Issues

After diagnosing symptoms, test valves, pumps, and fittings for leaks, pressure loss, or odd odors; you should consult system schematics, verify onboard tank levels and filter condition, and isolate sections to pinpoint faults; keep basic spares and tools on hand, and follow safe procedures when working with pressurized water or electrical components.
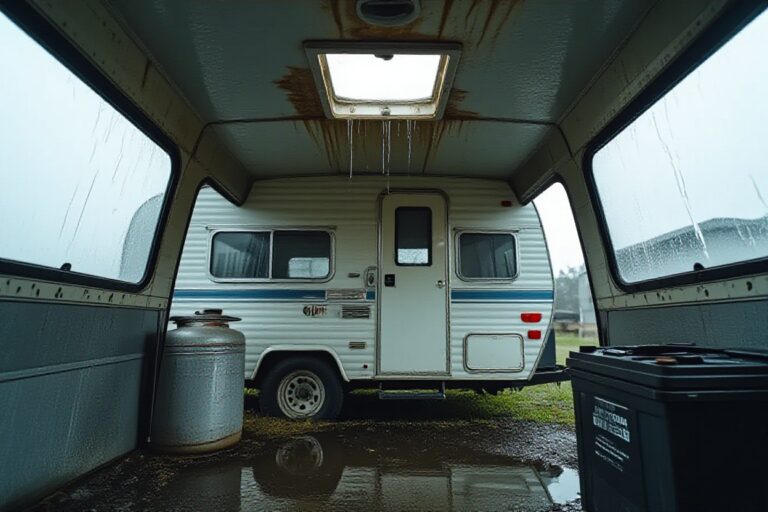
Water System Problems
Above all, when water flow is weak or tanks leak, you should inspect inlet screens, hoses, seals, and the pump; clear sediment from tanks and filters, tighten or replace worn fittings, bleed trapped air from lines, and confirm pump pressure switch settings to restore consistent flow and prevent contamination.
Power Failure Solutions
Among power failures, isolate shore power, inverter, and battery issues by checking breakers, outlet voltage, and battery charge; you should test fuses, verify converter output, clean grounding and DC terminals, and use a multimeter to trace whether the fault lies in wiring, components, or external supply before replacing parts.
For instance, if your inverter won’t supply AC but batteries show full voltage, you should confirm transfer switch settings, inspect DC terminal corrosion, run a controlled load test, and review inverter fault codes-these steps let you decide between a firmware reset, terminal maintenance, or professional replacement.
To wrap up
Hence you can keep your RV running smoothly by understanding how freshwater tanks, pumps, heaters, waste tanks, shore power, generator, batteries and inverter/charger work together; monitor levels, protect circuits, and maintain components so your water delivery and electrical distribution remain safe and dependable on and off grid.


2 Comments