How to Start Growing Food in a Backyard?

Over a single growing season, you can transform your backyard into a reliable source of fresh vegetables and herbs by assessing sunlight, selecting varieties suited to your climate, improving soil with compost, planning space-efficient beds or containers, and establishing simple watering and pest-management routines.
Planning Your Garden
While enthusiasm drives you, plan your garden by defining goals, listing crops you want, estimating space and season, and setting a simple timeline and budget; sketch beds or containers, note soil and water sources, and choose low-maintenance varieties so you can scale up confidently as you learn.
Assessing Your Space
Between sun patterns, soil type, and available square footage, you should survey your yard; note shade hours, drainage, and obstacles, measure planting areas, and test soil pH so you know which crops will thrive and whether raised beds or containers suit your needs.
Choosing the Right Location
Assessing microclimates helps you pick the best spot: watch sunlight for a week, aim for 6+ hours for most vegetables, avoid frost pockets, and place beds near water and storage to reduce daily effort and protect plants.
Considering wind, slope, and access, position taller crops to the north to prevent shading, create sheltered zones for delicate plants, ensure clear paths for tending, and situate plots close to your kitchen for easy harvesting and frequent use.
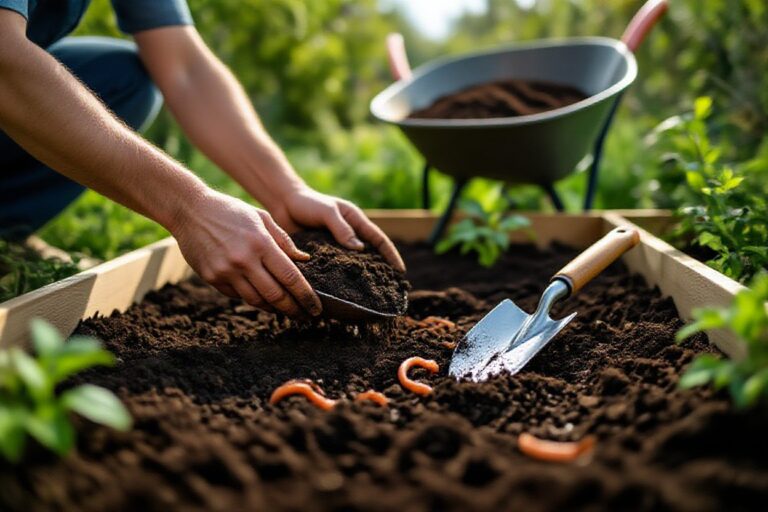
Soil Preparation
Assuming you want reliable yields, start by clearing debris, assessing drainage, and loosening compacted areas; add several inches of well-rotted compost and mulch to build structure and nutrients, avoid deep tilling unless you must break a hardpan, plan beds with access paths, and consider raised beds where drainage or soil depth is poor.
Testing Soil Quality
Across your plot, take multiple samples from different spots and depths, mix them, and send a composite sample for pH and nutrient analysis or use a home kit; check texture, organic matter, pH, and drainage so you can match crops to conditions and target amendments effectively.
Amending the Soil
Testing results tell you what to add: apply lime to raise pH or sulfur to lower it, incorporate compost to improve fertility and structure, and use well-aged manure or balanced organic fertilizers to correct deficiencies; work amendments into the top 6-8 inches and water to help integration.
Hence you should stage amendments-apply slow-release, long-term inputs in fall and quick-release nutrients in spring; avoid over-fertilizing, retest every two to three years, and use cover crops and rotation to build soil biology and reduce disease and pest pressure.
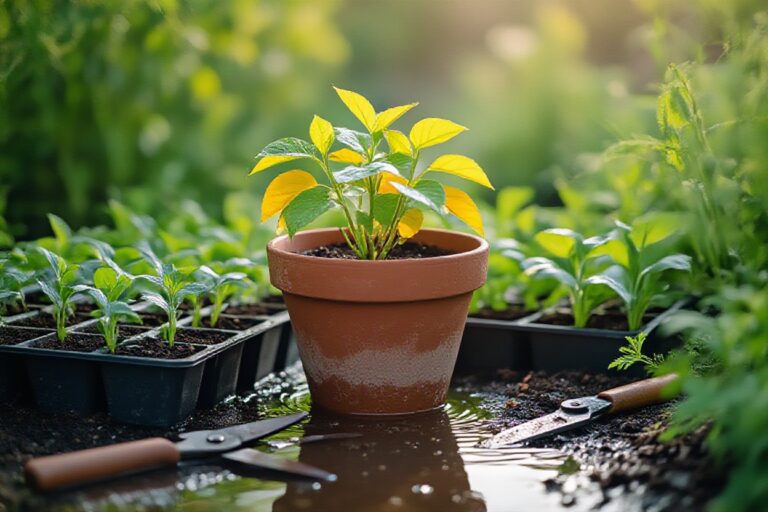
Selecting Plants
One of the first steps is selecting plants that fit your climate, soil, space and schedule; choose varieties known to perform well in your hardiness zone and match them to your sun exposure and watering capacity so you can harvest reliably and minimize problems.
Choosing the Right Crops
Across small backyards it’s best to prioritize high-yield, low-maintenance crops like salads, herbs, radishes, beans and cherry tomatoes; you should also factor in season length and how much time you can devote to planting, staking and harvesting to maximize returns.
Understanding Plant Pairing
Crops planted together can boost growth and deter pests when you pair deep-rooted with shallow-rooted species, combine nitrogen-fixers with heavy feeders, and avoid allelopathic conflicts; plan spacing and succession so your garden stays productive and balanced.
Plant pairings should align with your goals-improve soil, attract pollinators, or reduce pests-so you might intersperse basil near tomatoes, marigolds around brassicas, and beans with corn; observe outcomes and adjust combinations season by season.
Garden Setup
After choosing a sunny spot, prepare your soil by testing pH, adding compost, and improving drainage; set raised beds or in-ground rows to match your space, install a simple irrigation system, and plan pathways for access so you can maintain and harvest efficiently.
Planting Techniques
Beside planting at appropriate depth and spacing, you should stagger seedlings and succession-sow to extend harvests, use transplants where beneficial, protect young plants with mulch or row covers, and label rows to track varieties and timing for better yield.
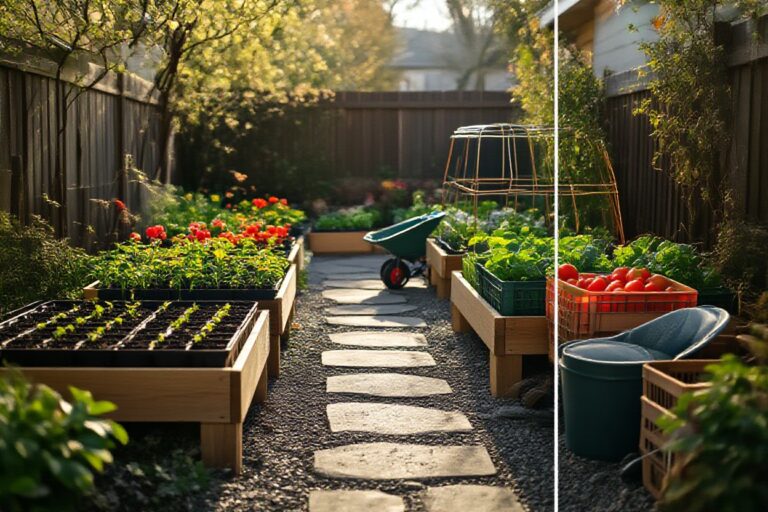
Layout Design
Beside arranging beds to maximize sunlight and airflow, orient longer beds north-south, group plants by water needs, leave wide paths for tools and wheelbarrows, and reserve a spot for compost and tool storage to streamline your work.
This detailed layout helps you rotate crops yearly, reduces pest buildup, allows companion planting, and makes irrigation zoning and harvesting more efficient while giving you flexibility to expand or change crops seasonally.
Maintenance and Care
For steady production, you should schedule regular tasks: weeding, pruning, feeding, and monitoring soil and plant health; set a routine that fits seasons, rotate crops, refresh mulch, adjust fertilization based on plant needs, and keep tools clean and sharp to prevent disease.
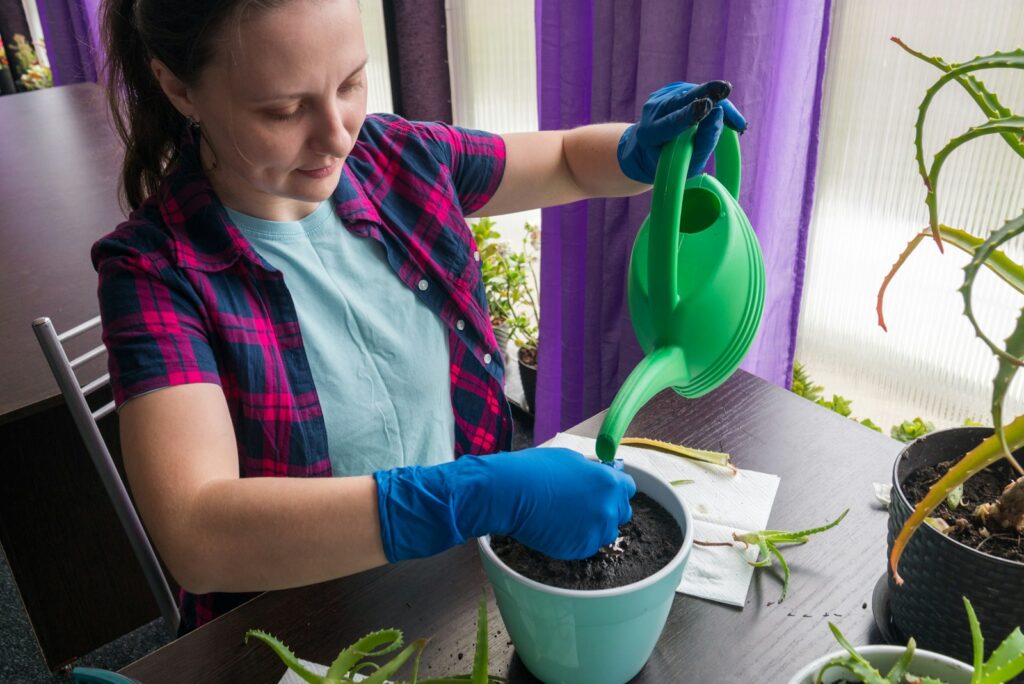
Watering Practices
Against overwatering, you should water deeply and less often, targeting the root zone early morning; use drip irrigation or soaker hoses, check soil moisture with your finger, adjust frequency for heat and rain, and avoid wetting foliage to reduce disease.
Pest and Disease Management
Any pest issues you face should be addressed through prevention and monitoring: encourage beneficial insects, use traps and barriers, remove affected leaves, apply organic controls when necessary, and isolate new plants to protect your garden.
For instance, if aphids appear, spray with a strong water jet to dislodge them, introduce ladybugs, or use insecticidal soap; for fungal spots, improve air circulation, water at soil level, remove infected tissue, and apply appropriate fungicides sparingly.
Harvesting Your Produce

To harvest at peak flavor, you should pick produce when it has full color and size, test fruit for slight softness, and harvest herbs before flowering; work in the cool morning, use clean tools, handle your crops gently to avoid bruises, and cool them quickly to prolong freshness.
When to Harvest
To determine timing, you can consult seed packets for days to maturity, watch for visual cues such as color change or seed development, check firmness, and taste a sample; harvest roots when tops decline, pick greens before bolting, and take tomatoes when they yield slightly to pressure.
Proper Harvesting Techniques
By using sharp scissors or shears and cutting rather than pulling, you protect plants from damage; sterilize tools between uses to limit disease spread, support stems with one hand while cutting, and place your harvest in shaded containers without overpacking to prevent bruising.
But with delicate crops you must be extra gentle: pick tomatoes with a bit of stem if possible, handle berries one layer deep, rinse and cool leafy greens promptly, and cure roots like onions and potatoes in a dry, ventilated spot before storing to extend shelf life.
Conclusion
Presently you can begin by assessing your site for sunlight, soil quality and space, selecting easy crops suited to your climate, and starting small with beds or containers; prepare soil, water consistently, mulch, and manage pests organically. As you track results and adjust timing, you’ll build skills and expand production season by season to secure a steady supply of fresh, homegrown food.


One Comment